
DIY: Origami My/Mochi Bowl
Hello My/Mochi lovers! Welcome back to our blog! Today I am going to attempt to show you the Do It Yourself way to create your own origami bowl made from our own My/Mochi box! “IS THAT EVEN POSSIBLE?” you ask… Anything is possible with a little help from your friends at My/Mochi! So let’s get to it!
Here is what you’ll need to get started: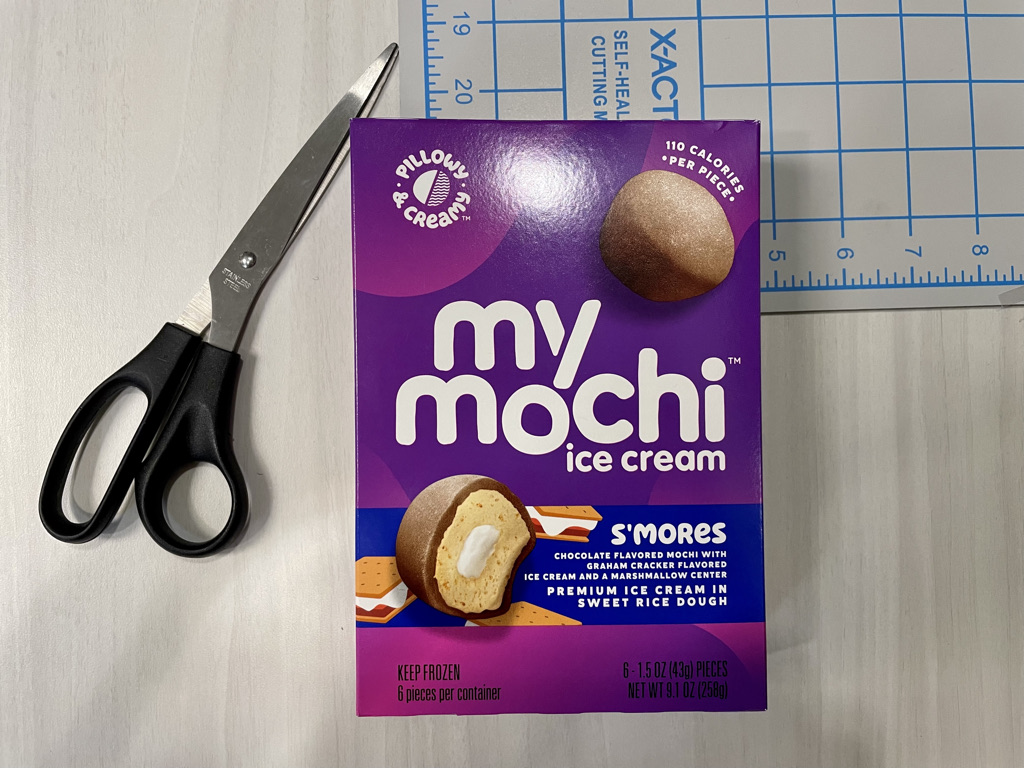
-
-
-
-
-
-
-
-
-
-
-
-
- Trusty scissors
- My/Mochi box (flavor of your choosing)
- Your hands
- Lots of determination
- Estimated time: 20 minutes
-
-
-
-
-
-
-
-
-
-
-
STEP 1: Figure Out the Measurements
I know what you’re thinking “How am I supposed to work with a material as stiff as this box?”I definitely had a tough time figuring out the best way to make this work because the box is already bent before you attempt to bend it again. Here’s where you need to get creative.. and use a little brute strength. I recommend cutting the box in four steps, as instructed below:


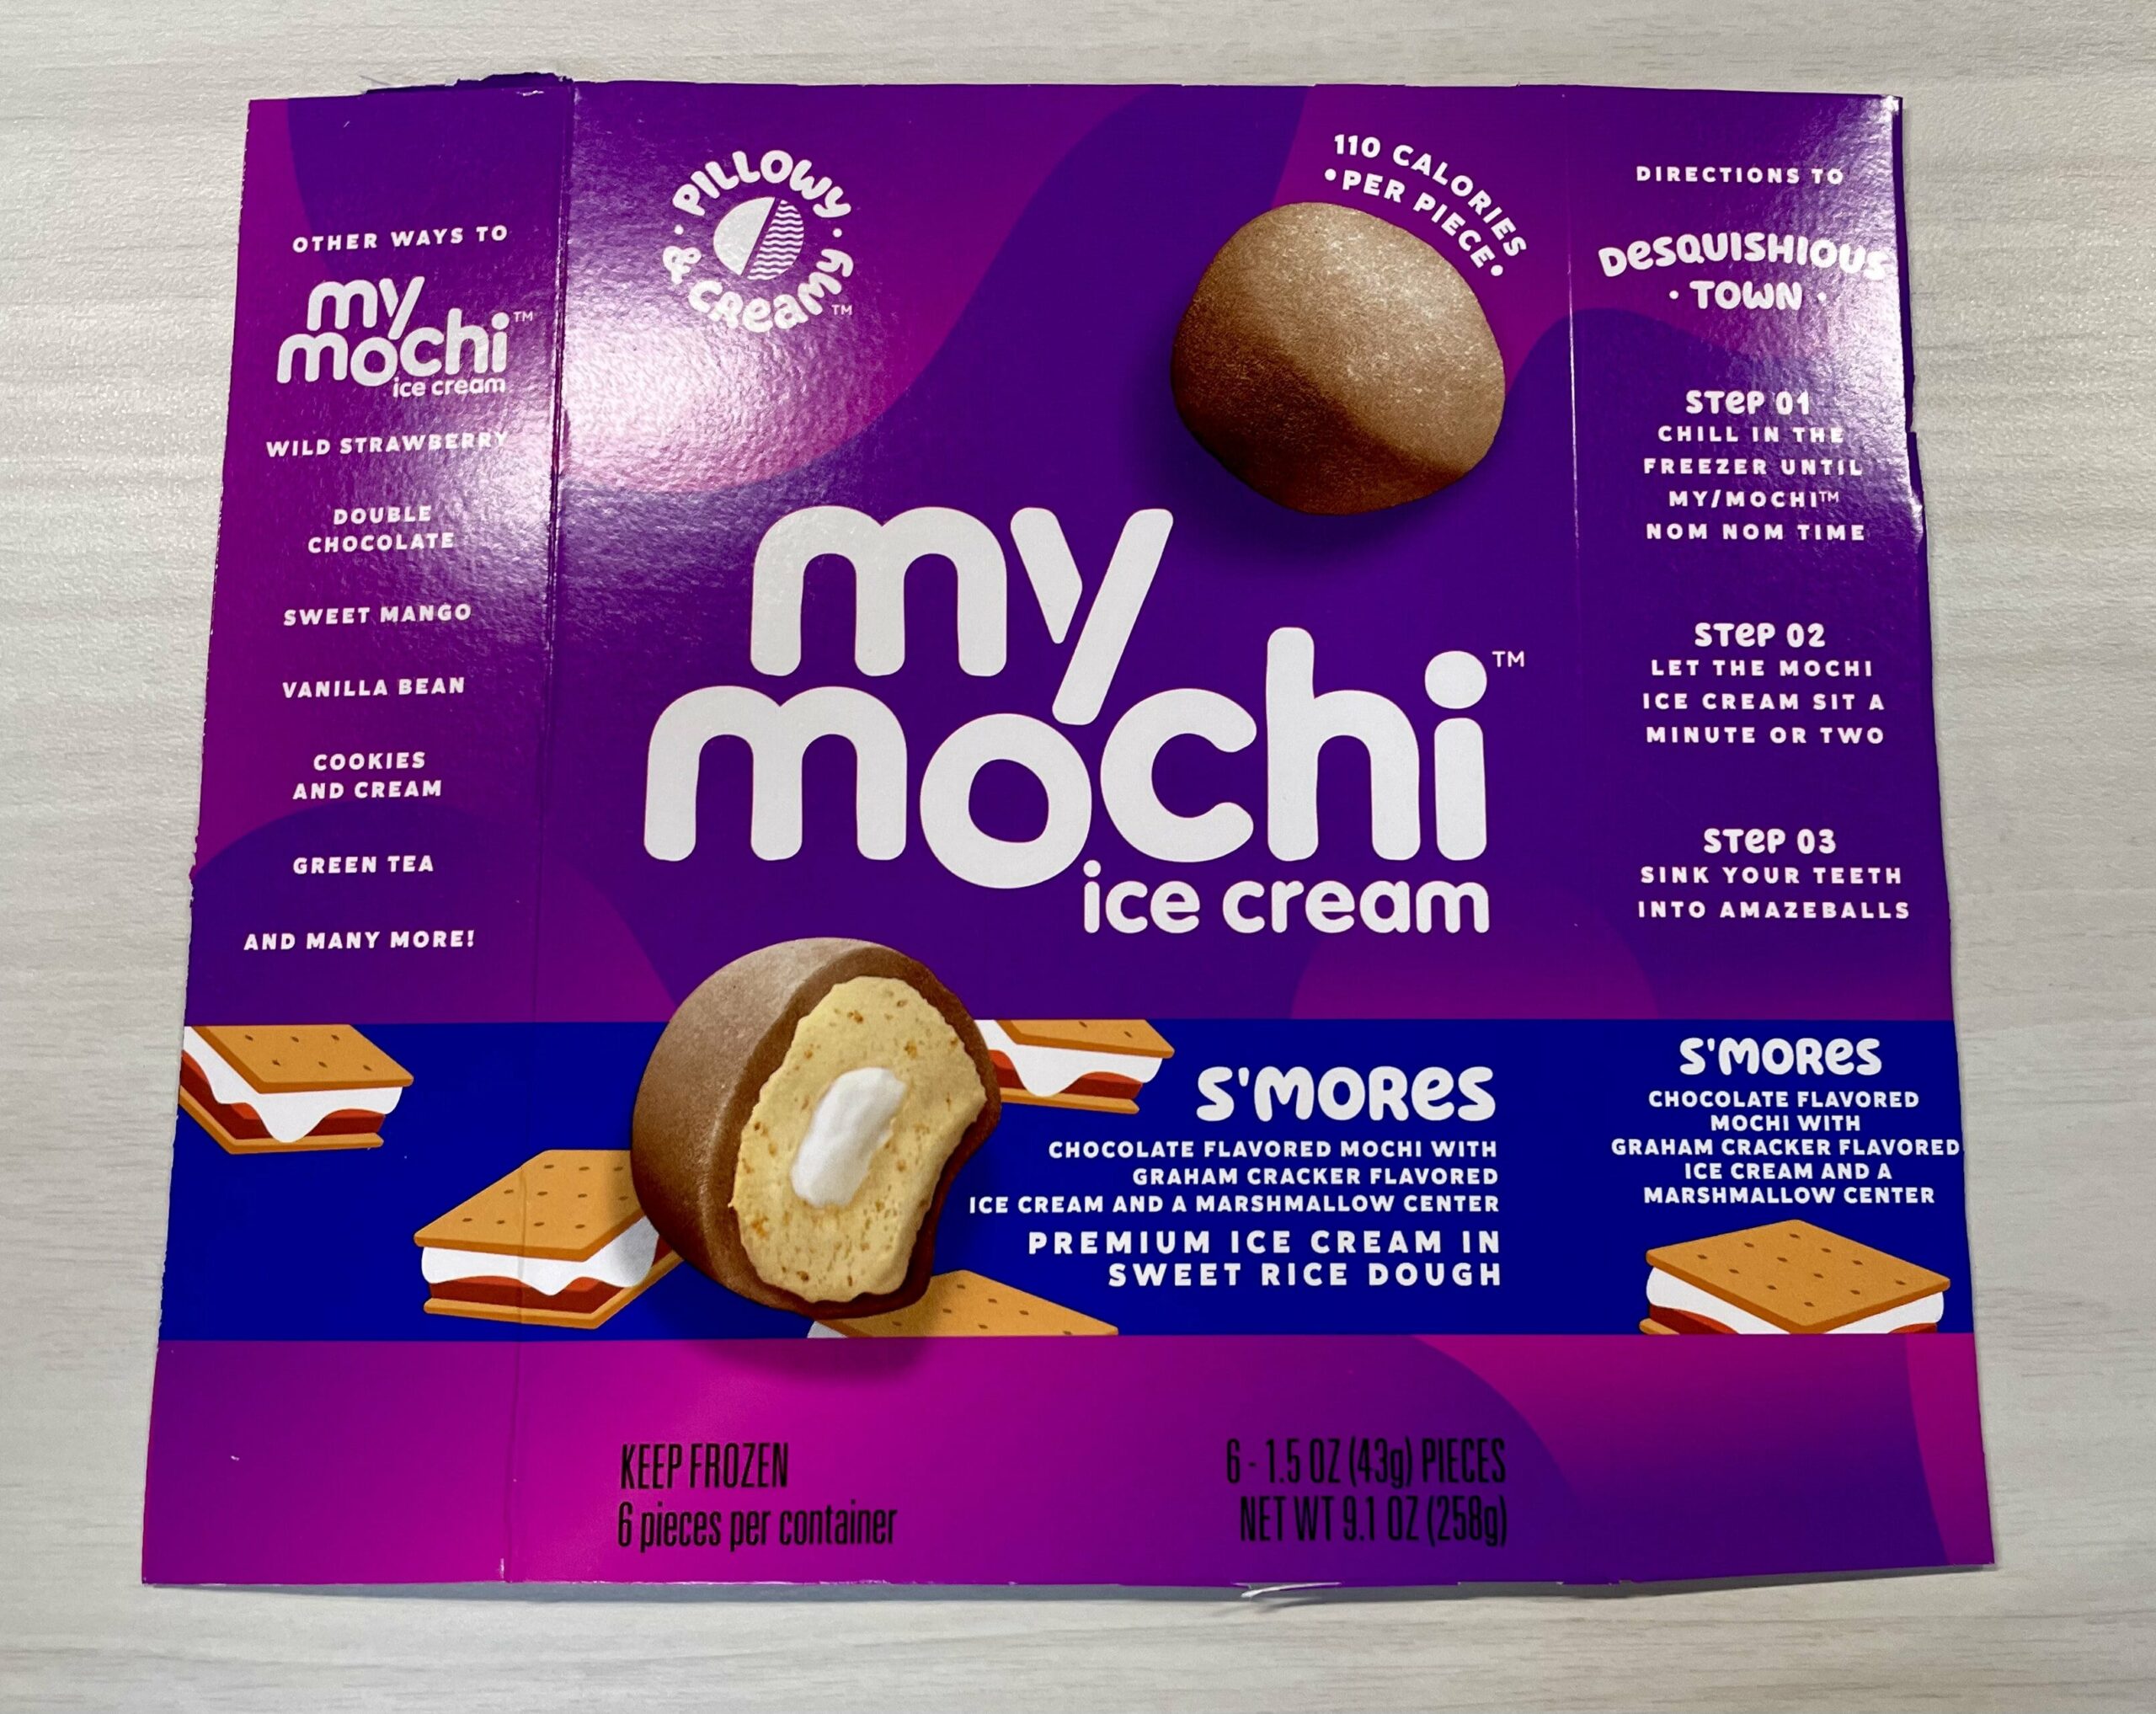

1:Cut off the top and bottom part of the box first
2:Then cut the box entirely open and lay down flat
3:Next cut off the “Nutritional Facts” panel
4:Lastly, cut off the right side “Desquishious Town” panel
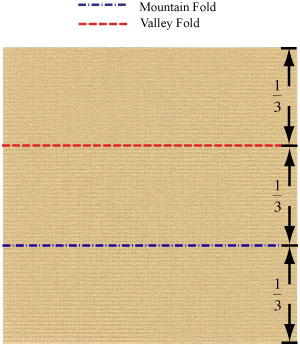
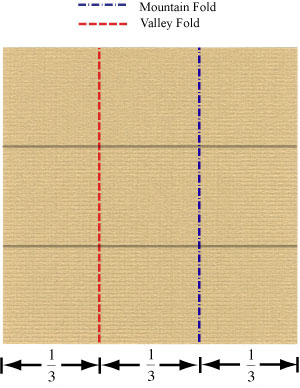
STEP 2: Start Folding
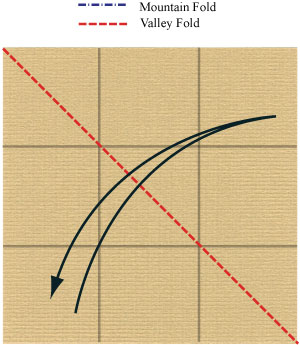
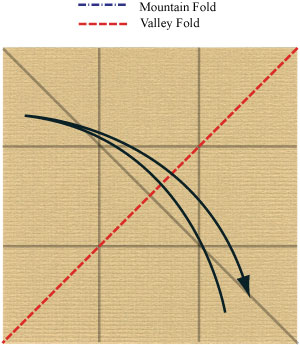
Let us start with our MyMochi paper (AKA the My/Mochi box). Prepare to apply a horizontal “Z-fold” and then unfold. Prepare to apply the vertical “Z-Fold” and then unfold. (Examples shown below)
STEP 3: More folding…
Apply a diagonal “valley-fold” and then unfold. Apply another diagonal “valley-fold” and then unfold.
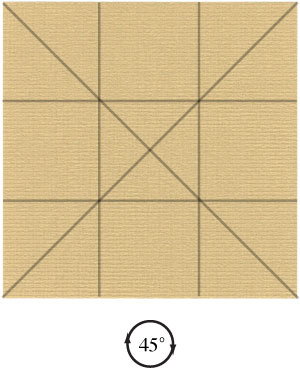
STEP 4: That’s alot of folding.
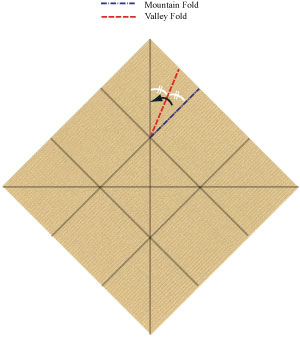
Rotate the paper by 45 degrees. Apply a “pleat-fold” (a “valley-fold” followed by a “mountain-fold” ). Prepare to apply a horizontal valley-fold.
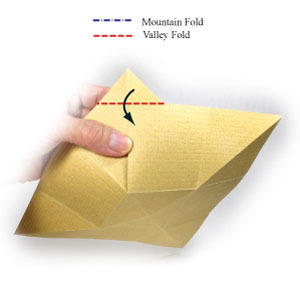
STEP 5: Swivel folds for days
Apply the horizontal “valley-fold“. Prepare to apply a “reverse swivel-fold” . Start applying the reverse swivel fold.

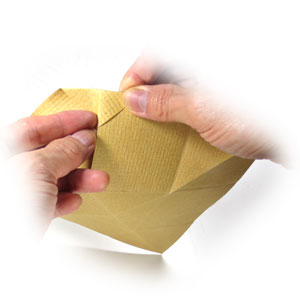
STEP 6: Repetition is key
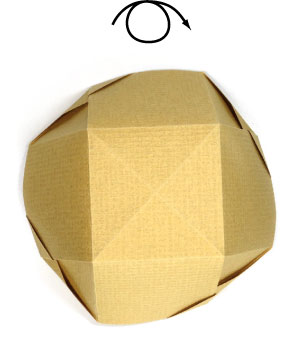
Rotate the origami bowl by 90 degrees. Repeat Step #4 and Step #5 around the entirety of the “bowl” until it looks a little something like this.
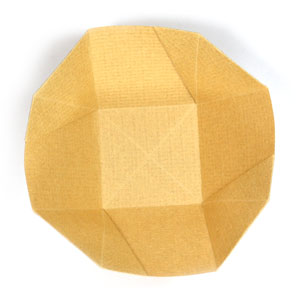
CONGRATULATIONS! You have just created an origami bowl to hold your My/Mochi balls! OR basically anything else a bowl can hold. Although I wouldn’t recommend eating cereal out of this one. I have included an image below of what your bowl should resemble! Notice how I said “should.” There will be no bowl shaming here because every bowl is perfect to us (judgement-free zone!). ANYWAYS if you do attempt to make this My/Mochi Origami Bowl please be sure to show it off on social and tag us @MyMochi! HAPPY SNACKING!
